Saturday, July 19, 2008

ALL DONE!! *hops*

It turned out somewhat wonky (my machine doesn't like so many layers at corners) but overall, I like it and am pleased with the result... let's hope Ronee likes it as much. ^_^

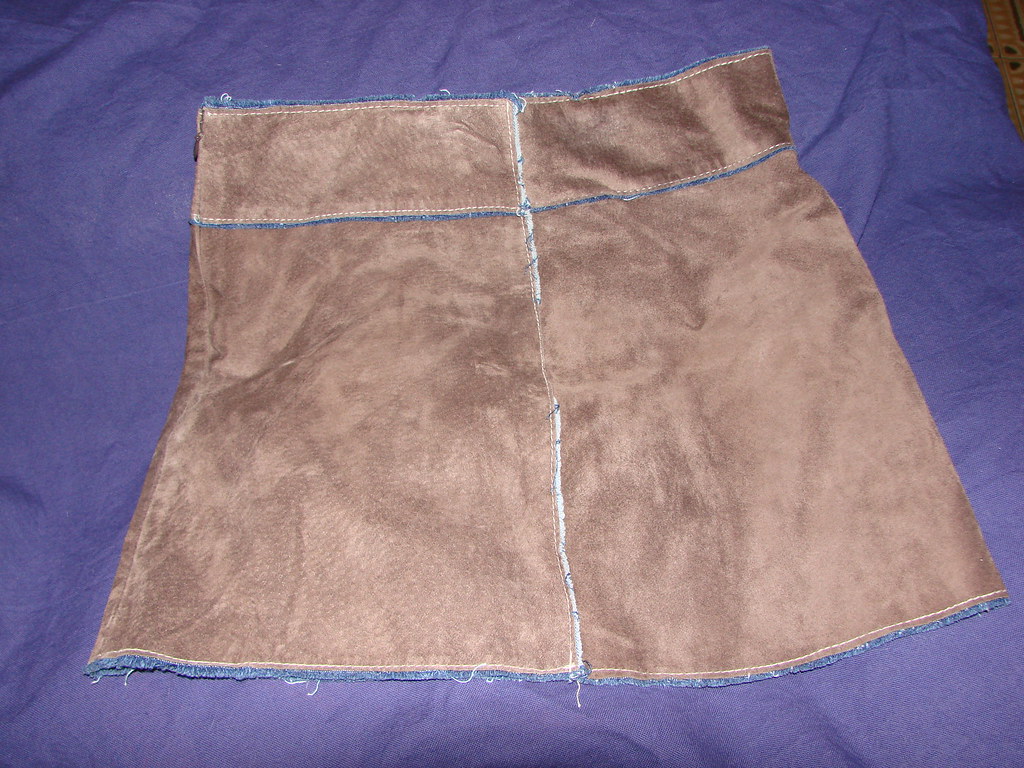
First, here's the photos of the deconstructed skirt I promised.

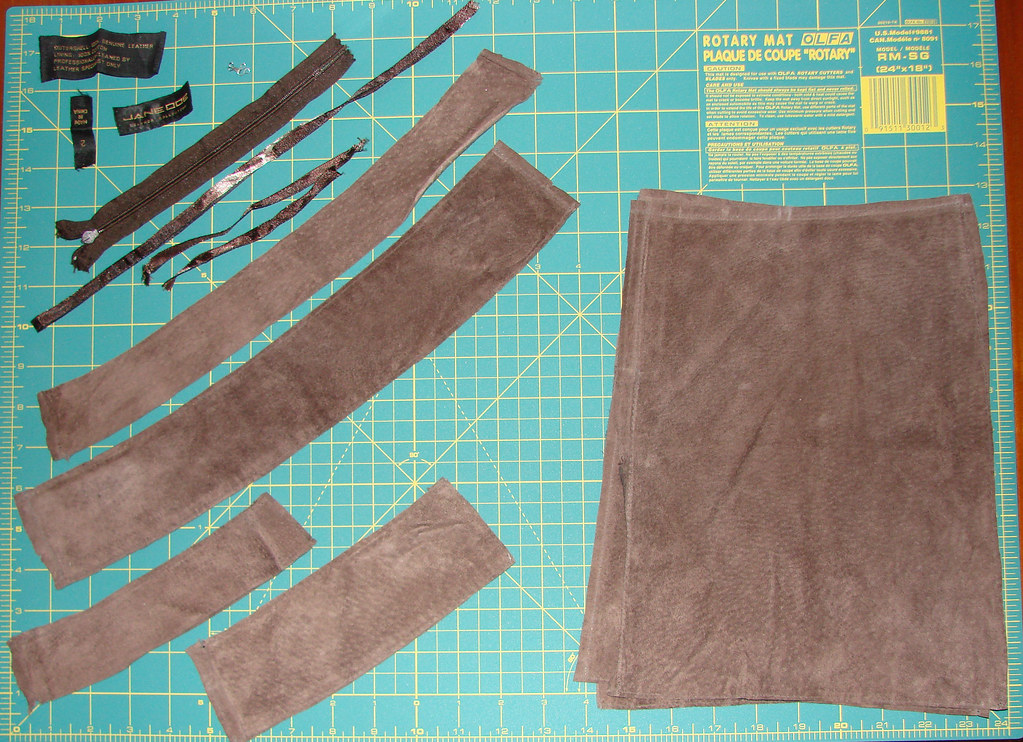
I salvaged 1 hook and eyes set, 3 labels (trash), 1 hidden zipper, 1 long piece of brown ribbon (looks bleached in some places and has a sticky tape on one side -- shown folded over and stuck to itself here), 2 smaller pieces of ribbon, 10 pieces of leather in various sizes & 7 pieces of denim in various sizes.


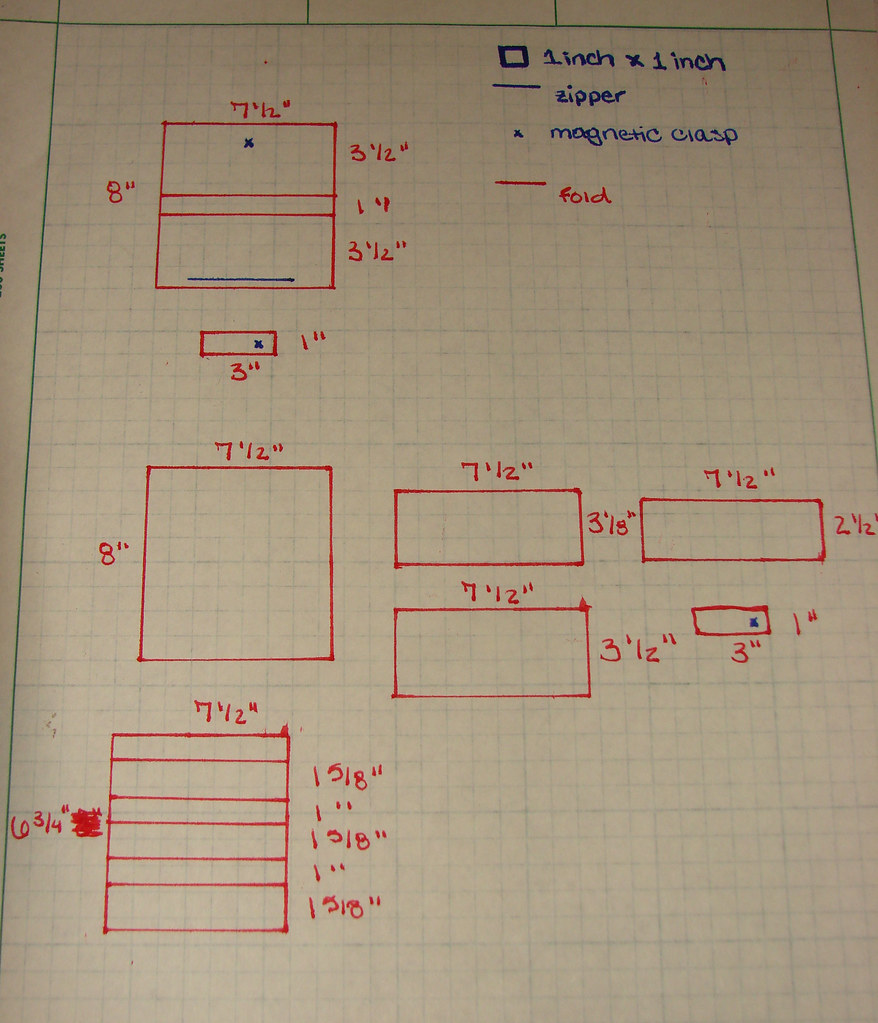
Here's a photo of the "pattern" I scribbled up and altered a smidge as I went along. It doesn't allow for seam allowances.


And here's all the pattern pieces laid out and marked for ironing and sewing (not shown -- 8" X 7.5" piece of interior fabric).


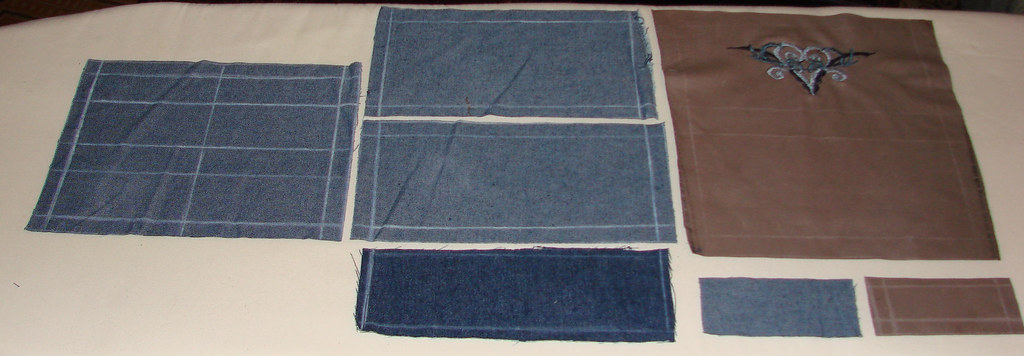
You can see on the "credit card pocket" piece that it's not the same as the pattern. I ended up only making it with one "pocket" for the credit cards.

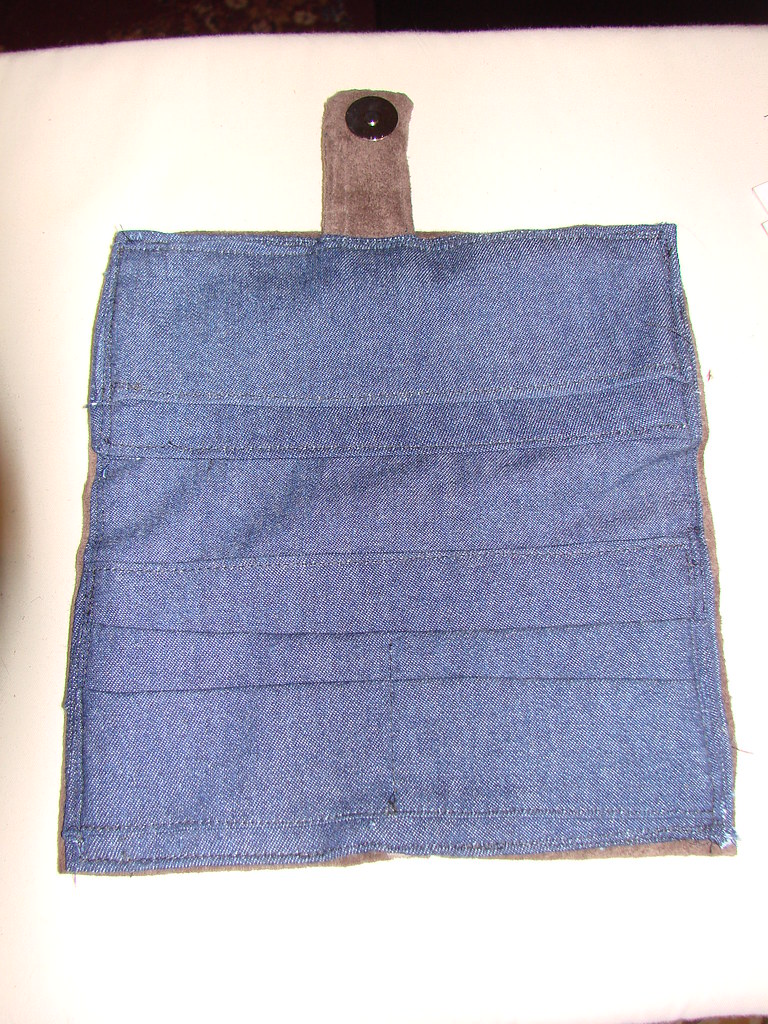
Here's all the interior pieces sewn together (it's honestly not as crooked as it looks). The two topmost pockets are for a checkbook and register, the lower two are for credit cards, and the next two up cash and receipts (I show an "action shot" later with this):


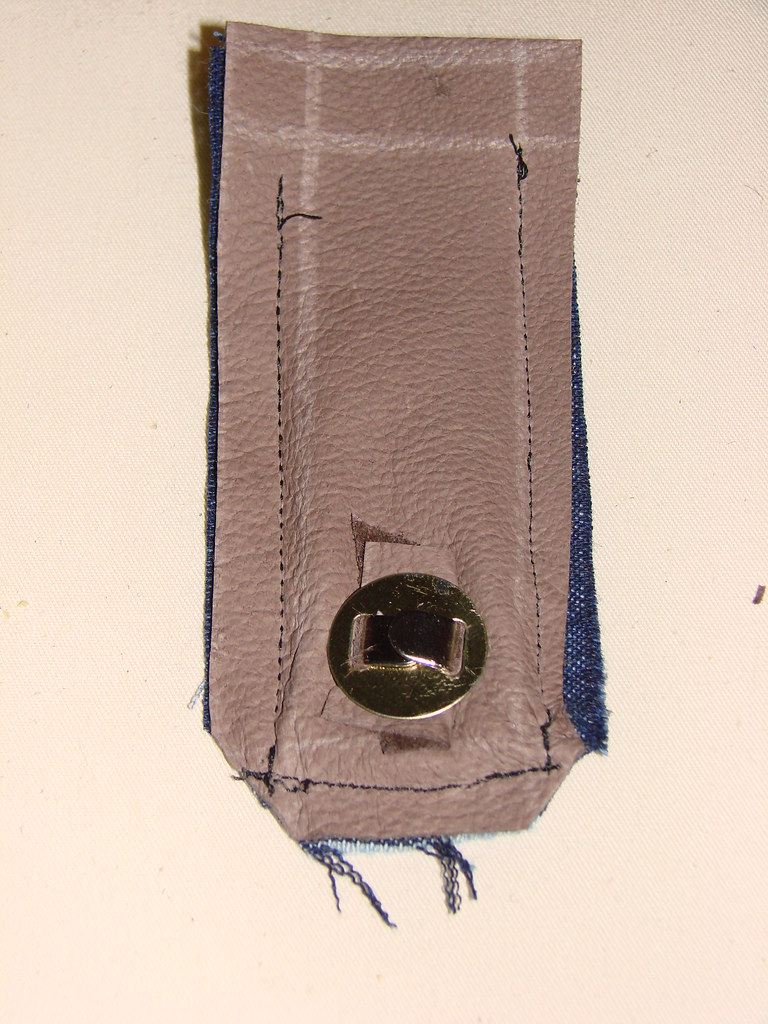
Here's the clasp bit that I managed to screw up. The magnetic piece was supposed to go through the denim side... I didn't realize that it was in backwards until I had flipped this piece right side out. I ended up "covering" the denim portion in another piece of suede. I thought it might look neat with the denim peeking out a bit like it was "sandwiched" in between the two pieces and it does if you look carefully. The extra layers of fabric really added to the strength of it I think. I ended up having to hand sew the last little bit around the snap since the machine didn't like it much.


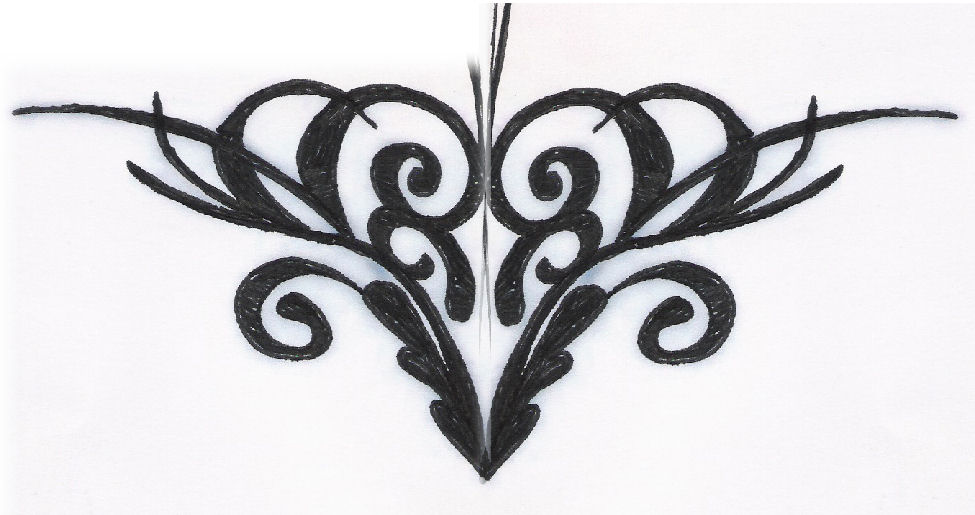
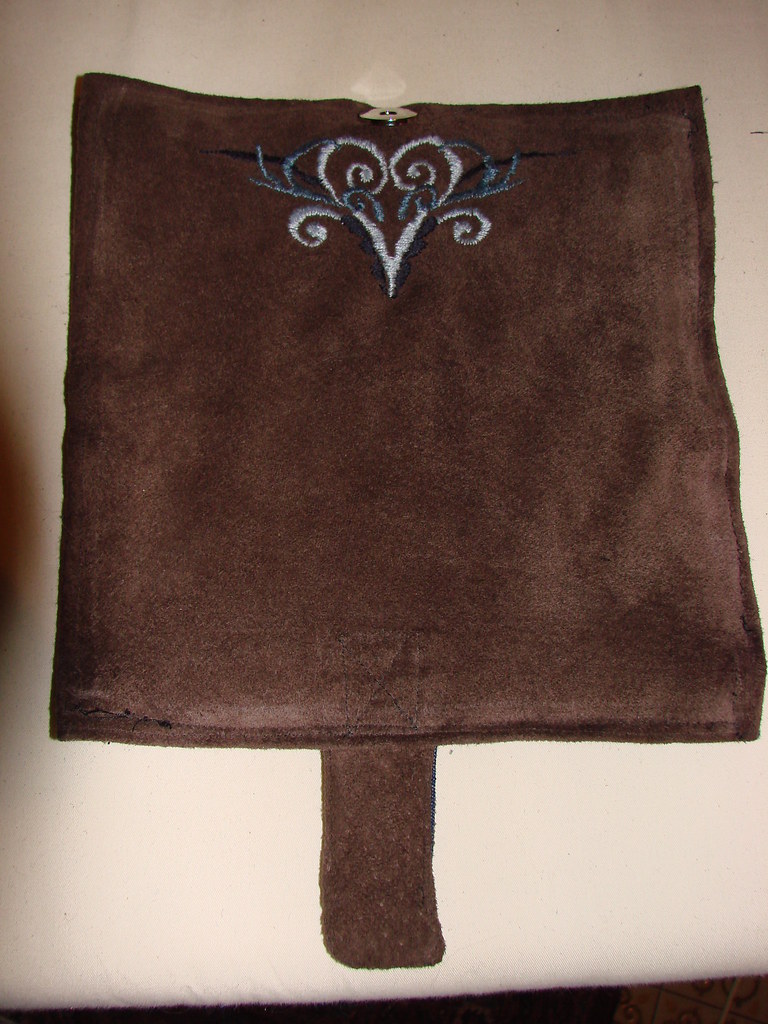
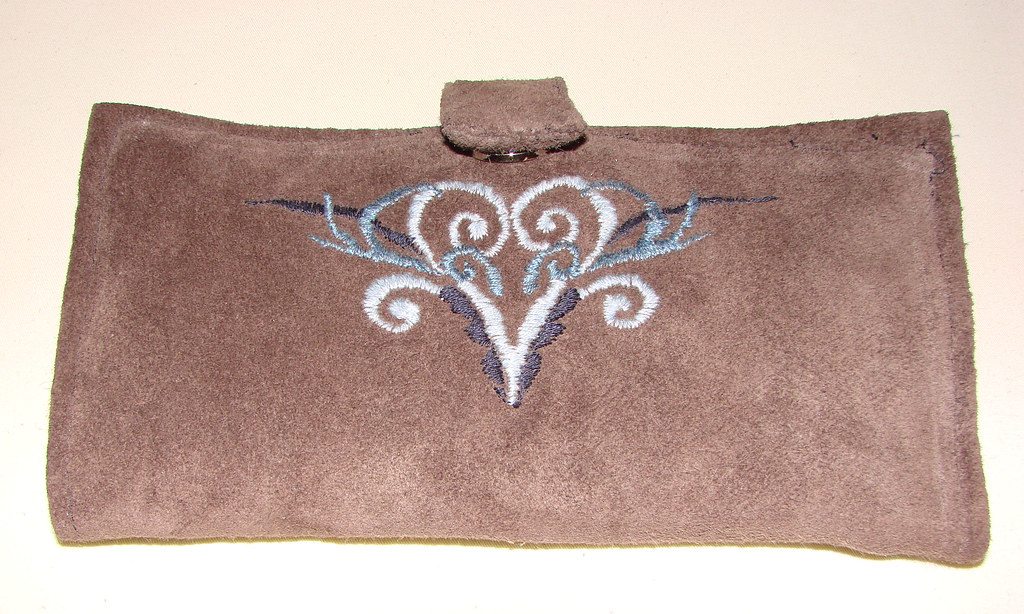
Here's the other end of the clasp on the wallet itself. I managed to slightly screw this up too. The heart was originally going to go on the backside with the zipper (which I forgot to put in) and a line drawing of a horse on the front. Well, I emailed the artist of the line-drawing requesting permission to use it and haven't received a response... so I just went ahead and used the heart on the front. Since it was on the front instead there wasn't as much room planned for the snap so I had to extend the length a smidge. Anyway, here's a photo of the snap going through the outer suede and into the "hem" on the interior denim.


Here's where I sewed down the snap "strap" onto the inside of the suede. It'll end up sandwiched between the interior and exterior pieces. I didn't make the ends so neat because no one will see it, so who cares, right? ^_^


And here it is all completed and filled up with a few things.


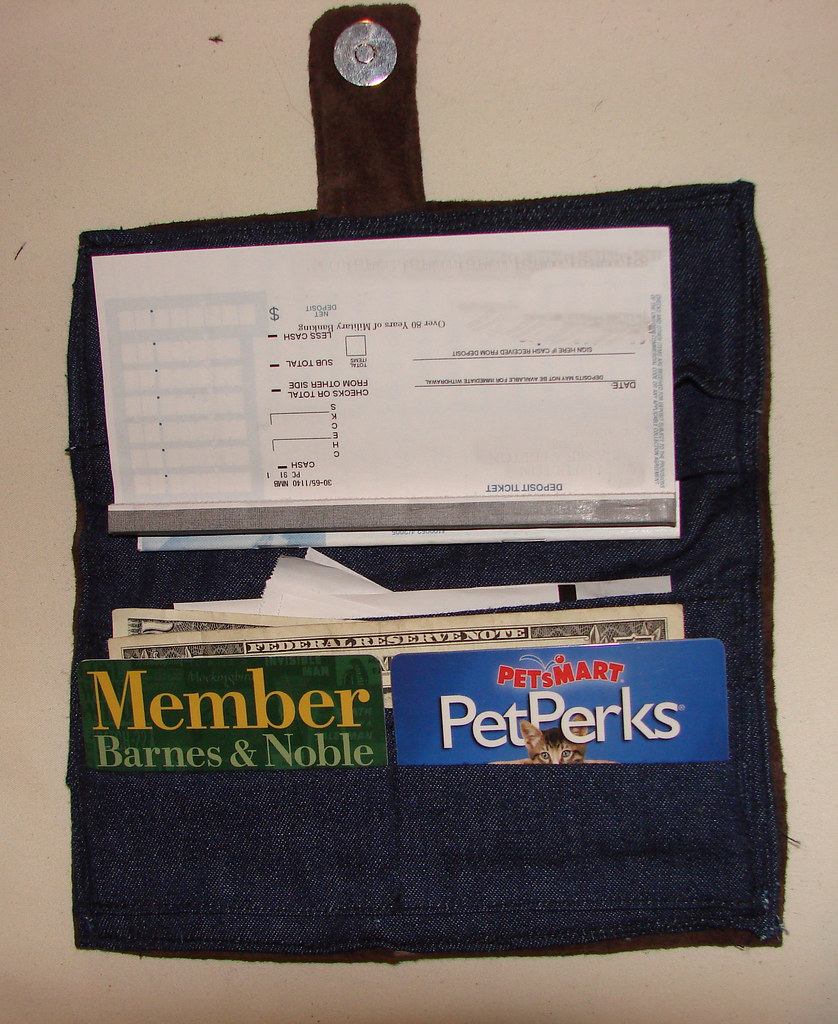
Turns out there's also some room for a small calendar book, so I might buy her one as a gift to go along with it. ^_^ All in all, I'm rather pleased with it. I could've used interfacing to make it stiffer as it's quite "floppy" but meh... no one says wallets HAVE to be stiff, so I'm leaving it the way it is.

*Whew* Now on to the "harder" stuff. ^_^

Friday, July 18, 2008

Well, I've completely taken apart the skirt. Took me about 2 hours while I watched the first two episodes of The Tudors on SurftheChannel (let me tell you, a complete LIFESAVER when all you have to watch is AFN). I'll post a photo of the deconstructed skirt later if I remember to take one.

After deconstructing the skirt I marked out some pieces for Ronee's wallet and added in seam allowances and such. Once I had the general outline made I set to work on embroidering the tattoo heart onto it.

I printed out a photo Ronee had of her tattoo on her MySpace to use as the pattern but because of the way the photo was taken, one side was straight but the other angled away. I traced the straight side with a black pen, folded it and scanned it into my computer. Then using PSP I copied the image, mirror flipped it and put it back together to re-create the original design. Here's what I ended up with (note that the lines down the middle were simply a guide for me to see where the mirror image was reversed, it is not in the original drawing:


I then printed it up and used a pair of scissors to cut out the white bits to use as a sort of stencil. Now if I'd had an X-Acto knife or something of the sort this would've been a whole lot easier. As it was I cut out the farthest outlines, traced them onto the back of my leather suede piece, trimmed into the next outline, traced and repeated. So instead of my stencil having a bunch of open spaces within it like lace, I just kept making the stencil smaller and smaller as I cut off the outer bits working my way into the center. I know that's kind've confusing to imagine. Anyways... here's my pattern as it was drawn out onto the suede. I also "colored" in sections to give me an idea of how I wanted to break up the image into several different colors (the original tattoo is all black):


Moving on, I had previously chosen three shades of blue Venus floss at the local fabric store (2458, 2462 & 2464 for anyone wondering) to use for this project. I got those out and set to work... here's the photos of my work in progress and the finish. Took me just about all day to do, so I figure about 6-8 hours of stitching. It's all satin-stitched by hand (which by the way, on leather... hand-sewing really really REALLY sucks!) and I'm still debating on whether or not I should outline everything in black floss to "hide" the uneven stitches.

Anyway, on with the photos! I took photos of the fronts and backs... since the pattern was drawn on the backside I mostly worked from there, flipping the work over periodically to check that the stitches were covering well enough on the right side.


I'm hoping to get the wallet done tomorrow as well as a few other accessories that I have planned. ^_^

Wednesday, July 16, 2008

As one of Ronee's gift accessories to go along with her purse I'm going to ATTEMPT to make an embroidered wallet. I say attempt because I've never made a wallet or embroidered before. It'll be entertaining at least. If it turns out well enough I may make one for Kayla and myself as well, possibly Tania too if she likes them. ^_^

As per my usual, I'm re-purposing something that is completely NOT a wallet. This genuine leather mini-skirt:


The lining is a dark denim fabric which I thought would also work perfectly as the inside of the wallet. With the semi-pattern I've drawn up so far, I might be able to eek four wallets out of the one skirt. At least, that's the plan. The plan for the embroidery is a line drawing of a running horse on the front and her heart tattoo on the back. I'll try to post photos of those later if I have the time. Wish me luck!